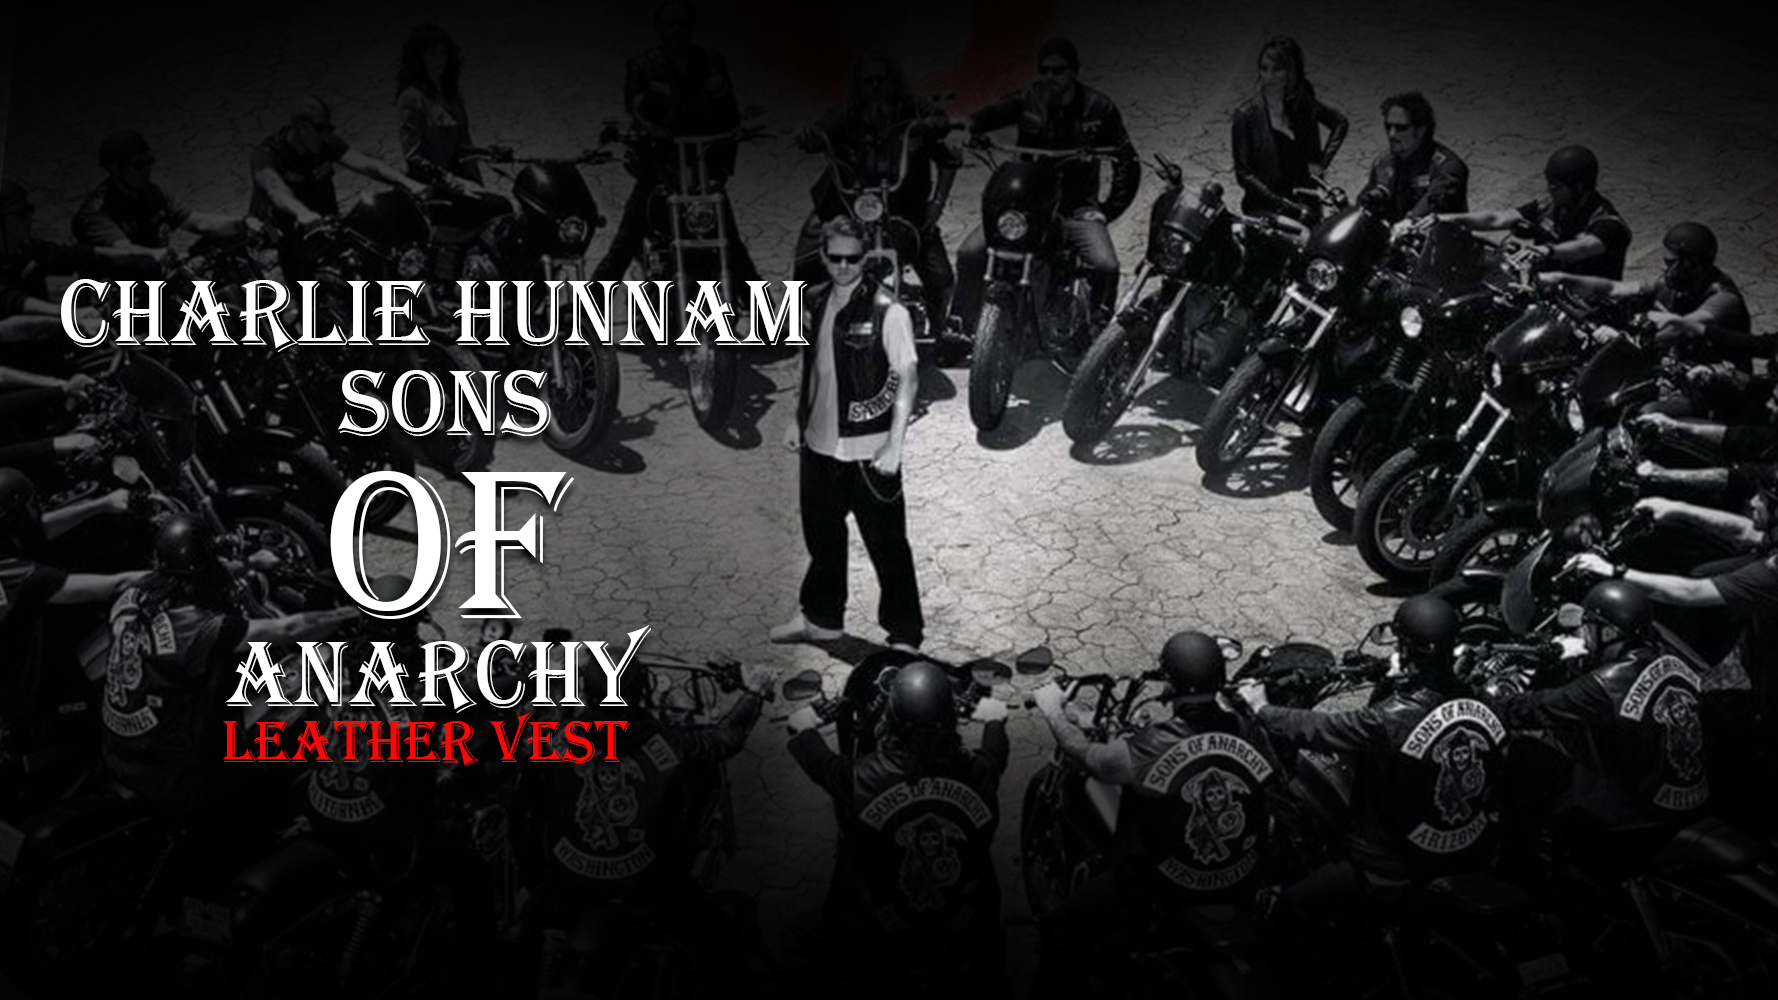
We all love having unique pieces of clothing that represent our tastes, hobbies, and favorite shows. The biker vest is an iconic Sons of Anarchy vest from a beloved television series. Here’s a fun and simple way to make your version inspired by the iconic series without breaking the bank.
Gathering the Materials
Before you dive into creating your masterpiece, you need some basic materials. The main ones include:
- A plain black or faux leather vest: You can find these in most apparel stores, thrift shops, or online.
- Fabric paint or permanent markers in white and other colors of your choice.
- A stencil of the design you wish to incorporate. You can either buy one online or make your own using cardboard.
- A soft cloth or sponge for dabbing paint.
- Clear sealant spray (optional) to protect your artwork.
Getting Started
Step 1:
Prepping the Vest
Before starting your design, ensure your vest is clean and dust-free. A quick wipe-down with a damp cloth should do the trick. Once it’s dry, lay it flat on a surface. Putting some newspaper or an old material underneath is recommended to avoid mess.
Step 2:
Picking Your Design
While the inspiration comes from a specific TV series, your vest doesn’t have to be a replica. Remember, it’s all about creating something personal. Consider what symbols, letters, or designs you want to incorporate. Once you have an idea, sketch it on paper or use the stencil directly.
Step 3:
Stenciling and Painting
Place your stencil on the vest area where the design appears. If you’re worried about it moving, some masking tape can hold it in place. Once you’re happy with the placement, start filling in the design using fabric paint or permanent markers.
Dab the paint with a sponge or soft cloth instead of brushing it for an even finish. This will give a smoother look. If you’re using markers, ensure they don’t bleed through by pressing lightly.
Step 4:
Adding Personal Touches
The vest doesn’t have to stop with one design. You’d like to add other symbols, patches, or fun pins. Let your imagination run wild. Just place everything balanced so the vest doesn’t look too crowded.
Step 5:
Let it Dry
This is the hardest part for most of us – waiting. Depending on the paint you’ve used, drying times can vary. It’s typically good to let it sit for at least 24 hours. Check the instructions on your paint bottle to be sure.
Step 6:
Sealing the Design
Once you’re sure your design is dry, you can use a clear sealant spray to protect it. This is an optional step, but it can help ensure your procedure lasts longer and withstand the elements. Spray a light layer over your design, let it dry, and you’re done!
Show It Off
Now that you have your personalized biker vest, it’s time to wear and show it off. Whether it’s a casual hangout, a themed party, or just a ride on your bike, this vest will surely grab attention and become a conversation starter.
Caring for Your Vest
Every masterpiece needs maintenance, and your newly crafted vest is no exception. To keep it looking fresh and vibrant, a few care steps can make a difference:
Step 7:
Gentle Cleaning
Remember, your vest now has a unique design painted onto it. Avoid tossing it into the washing machine with other clothes. Instead, opt for hand-washing. Use cold water and a mild detergent. Gently scrub the areas without the design; a simple dabbing should do the trick for the painted areas. Rinse thoroughly and let it air dry.
Step 8:
Storing Properly
Leather and faux leather tend to wear out or get wrinkles if not stored correctly. Always hang your vest on a wide, padded hanger to maintain its shape. If you’re not planning on wearing it for a while, consider placing it in a garment bag to protect it from dust and moisture.
Step 9:
Regular Check-ups
Every once in a while, inspect your vest for any signs of wear or damage. Over time, the paint might chip or fade, or the vest might have loose threads or wear. Addressing these issues promptly ensures your vest remains in top shape. If the design starts to fade, you can always do a quick touch-up with your fabric paint.
Embrace Your Craftsmanship
The joy of DIY projects lies in the journey as much as the result. Each step you take in crafting your
Sons of Anarchy vests makes it a true reflection of your style and dedication. It’s more than just an article of clothing – it’s a testament to your creativity. Wear it pridefully and enjoy the compliments that will come your way.
Final Thoughts
Crafting your clothing gives you a unique soa vest and a sense of accomplishment. This DIY project is simple, fun, and doesn’t require specialized skills. Just patience and creativity. So why not give it a try? This may be the beginning, and you might find yourself customizing more clothing in the future.
Remember, it’s not about replicating something you saw on TV. It’s about taking inspiration and making it your own. Enjoy the process, and happy crafting!

