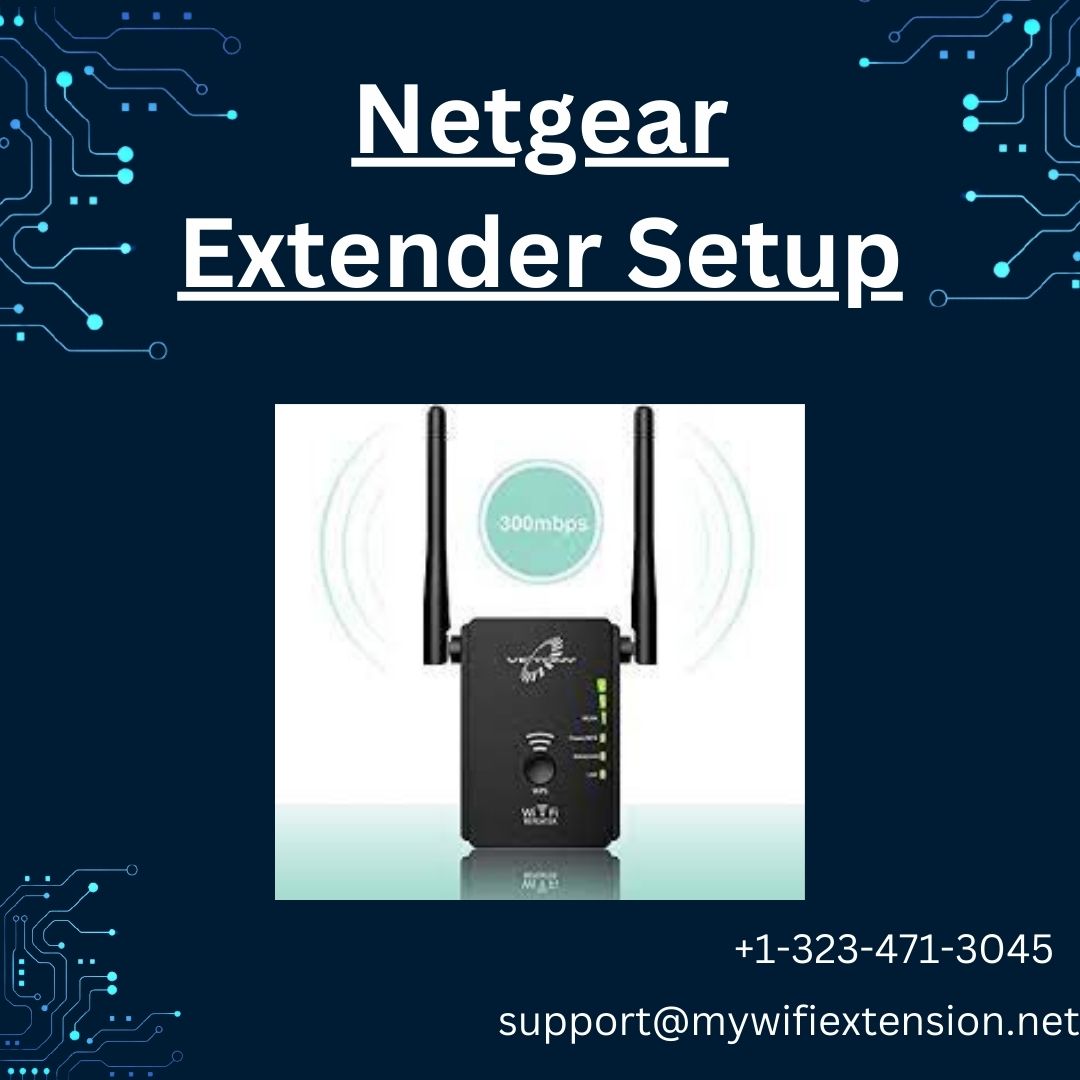
Your wireless network’s speed and coverage can be improved using a Netgear extender WiFi Setup. This tutorial can help you configure your Netgear extender if you experience slow WiFi or weak connectivity across your home.
Manual Configuration of Netgear WiFi Extender
You should use a web browser to access the extender’s web-based configuration page in order to manually configure your Netgear WiFi extender. The instructions for Netgear extender WiFi Setup are as follows:
- Begin by plugging your Netgear Extender into a power outlet and waiting for the power LED to turn solid green.
- On your computer or mobile device, go to your WiFi settings and connect to the “NETGEAR_EXT” network.
- Launch a web browser and enter “mywifiext” in the browser’s address bar.
- Follow the onscreen instructions, and if prompted, create a Netgear account.
- Select your current WiFi network and enter the password if required. Click “Next” to complete the setup.
After successful connection, relocate the extender to an area with weak WiFi signals to enhance coverage.
WPS Method for Netgear WiFi Extender Setup
The WPS (Wi-Fi Protected Setup) technique is a quick and easy way to add a Netgear WiFi extender to your current Wi-Fi network. The following are the steps for WPS-enabled Netgear extender WiFi setup:
- Plug in your Netgear Extender and ensure it’s powered on.
- Locate the WPS button on the extender and press it.
- Press the WPS button on your WiFi router within a 2-minute timeframe.
- The WPS LED on the extender will turn solid green when the connection is established.
Your Netgear extender is now successfully set up using the WPS method. For further assistance, contact our specialists via our toll free number.
Performing a Factory Reset on Netgear WiFi Extender
Perform a factory reset on your Netgear Extender if you encounter issues or want to start the setup process from scratch:
- Locate the reset button on your Netgear Extender, which is usually a small opening or hole.
- Use a paperclip or pin to press and hold the reset button for at least 10 seconds.
- Release the reset button when the power LED starts blinking.
After a factory reset, you’ll need to set up your extender again. Remember to back up your previous configuration before performing the reset.
Upgrading Netgear WiFi Extender Firmware
Regular firmware updates are crucial for optimal performance and security. To perform a firmware update for your Netgear WiFi extender:
- Log in to the extender’s web interface as explained in the manual setup.
- Navigate to the “Firmware Update” or a related section in the settings menu.
- If an update is available, download and install it, ensuring no interruptions during the process.
- The extender may reboot automatically after the update. If not, restart it manually.
Ensure your WiFi extender is connected to your current WiFi network before initiating the firmware update.
Troubleshooting Tips:
If you encounter issues during the Netgear Extender WiFi setup, consider these troubleshooting steps:
- Ensure the extender is within the range of the router.
- Double Check the WiFi password entered during setup.
- Avoid placing the extender near electronic devices that could cause interference.
- If problems persist, perform a factory reset and set up the extender again.
- Keep the extender’s firmware updated to address potential bugs.
- Verify that your devices support the WiFi bands extended by the extender.
- Check the extender’s LEDs to confirm it’s receiving a strong signal from the router.
For specific instructions and further troubleshooting, consult your Netgear Extender’s manual.
If issues persist, you can seek technical assistance by calling our toll free number at (+13234713045).